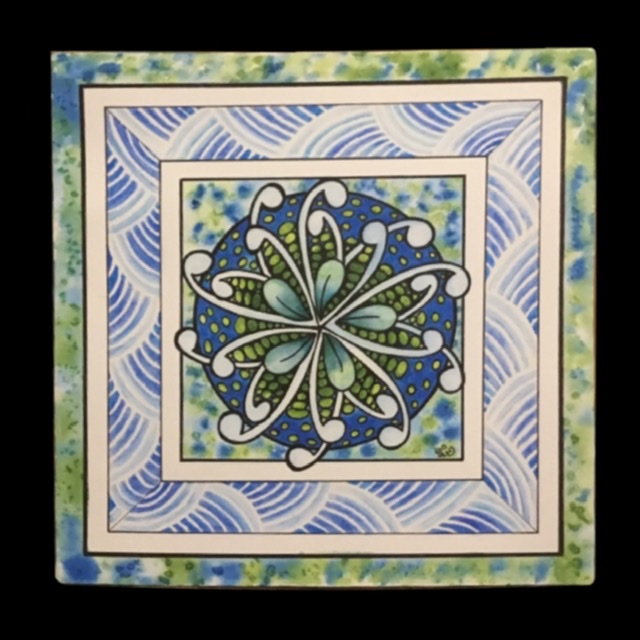
In this tutorial I share with you some tips on using watercolour pencils.
Materials
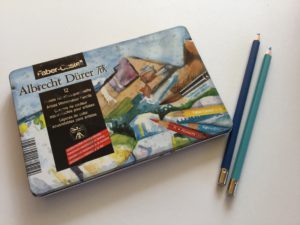
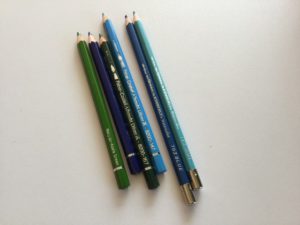
I used someFaber Castell watercolour pencils that I have had for a long time along with a couple of pencils that came with sone of the project packs from the official Zentangle® website For this project I chose to use acolour palette of blues and greens.
You will also need watercolour paper or an Opus tile, paintbrush and water.
Design
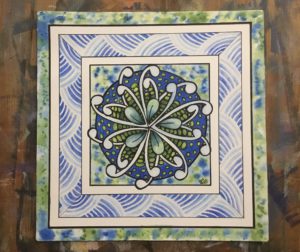
I chose a selection of tangles for my project including mooka, flux and shattuck.
Watercolour Pencil Techniques
- Use your pencil shavings to create a palette that you can paint from. Save your pencil shavings in a container… an ice cube container is ideal for this. Add water and mix thoroughly to create a well of paint that you can use on your project.
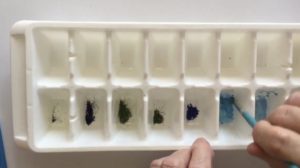
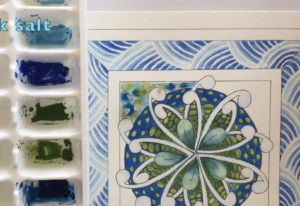
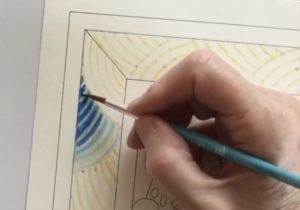
- when painting a gradient using one colour, activate the pencil shading with your wet paintbrush starting from light to dark.

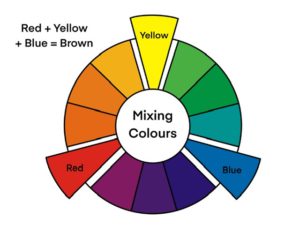
- When blending colours be aware of how they will mix when in paint form. This is important if you don’t want your picture to look muddy. Again… activate the colours from light to dark.
- Use masking fluid in places to draw your tangle then colour with your pencils after. This creates a different look for your design.
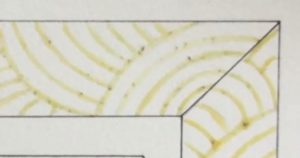
- Add texture by using the wet on wet technique. Wet an area of your design with water then drop in colour from your shavings palette. While the paint is still wet, sprinkle with rock salt. once the paint is dry, the salt can be removed leaving behind a lovely textured effect.
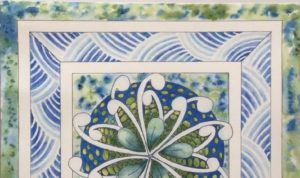
- Create a palette by scribbling on a scrap piece of paper. Activate the pencil scribblings with your wet paintbrush then paint onto your project.
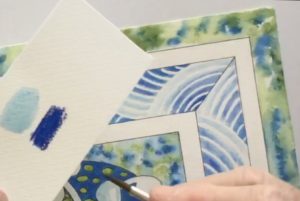
- Paint directly from your pencil. Use your wet paintbrush to get colour directly from the coloured part of your pencil and use this to paint onto your project.
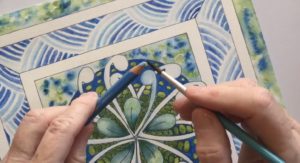
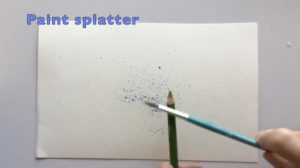
- Splatter the paint. Once you have wet your brush and loaded colour from the tip of your pencil, gently tap your paintbrush onto the pencil in order to splatter the paint onto your page. This gives another variation of a textured effect.
Finished Work
To get a step by step look at how these techniques work. Watch this video:
